How To Host Your Webpage On Netlify
WHAT IS NETLIFY AND GETTING STARTED WITH NETLIFY

Netlify is an all-in-one platform for automating modern web projects. It replaces your hosting infrastructure, continuous integration, and deployment pipeline with a single workflow. This means you can use Netlify for hosting most if not all your web projects.
This tutorial will show you how easy it is to launch or deploy your site on Netlify. If you are not already a Netlify user, go ahead and sign up for free first. you sign up by going to the netlify web page and click on sign up
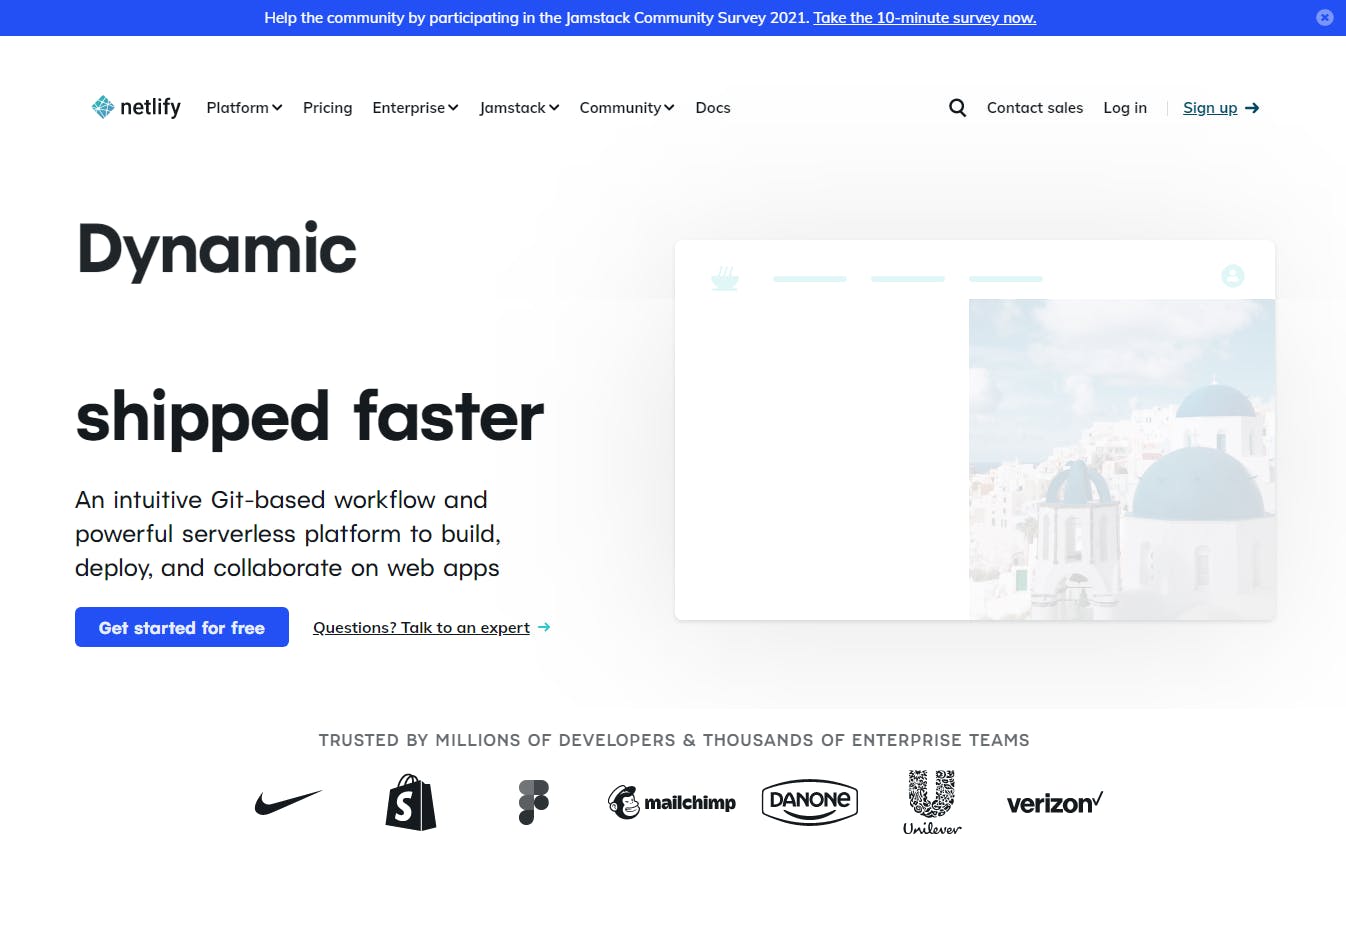
Step 1: Add Your New Site
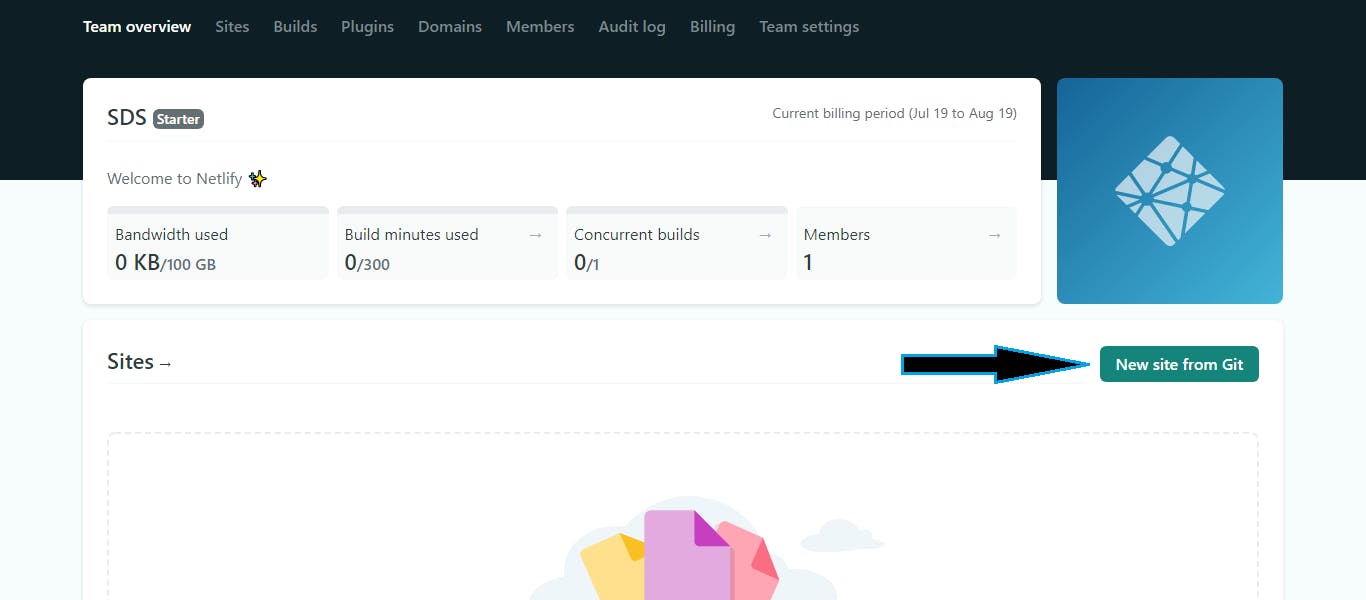 Once you’ve logged in, you’ll be taken to app.netlify.com. Creating a new site on Netlify is simple. If you’re just starting out, there’s only one option, Click the Add A New Site from Git button shown above.
Step 2: Link to Your GitHub (or supported version-control tool of choice)
Clicking the “Add A New Site from Git button” brings you to this screen:
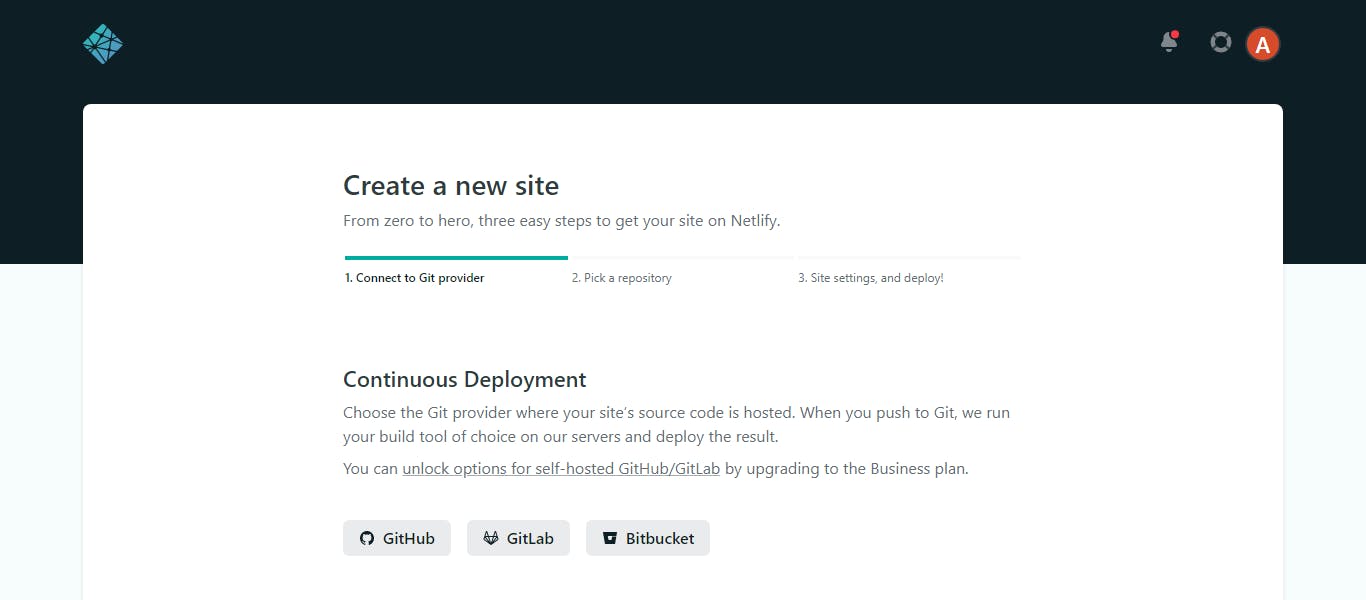
Be sure to push your repo to GitHub, so that Netlify will link to GitHub. Click the GitHub button as illustrated in the screenshot above.
Step 3: Authorize Netlify
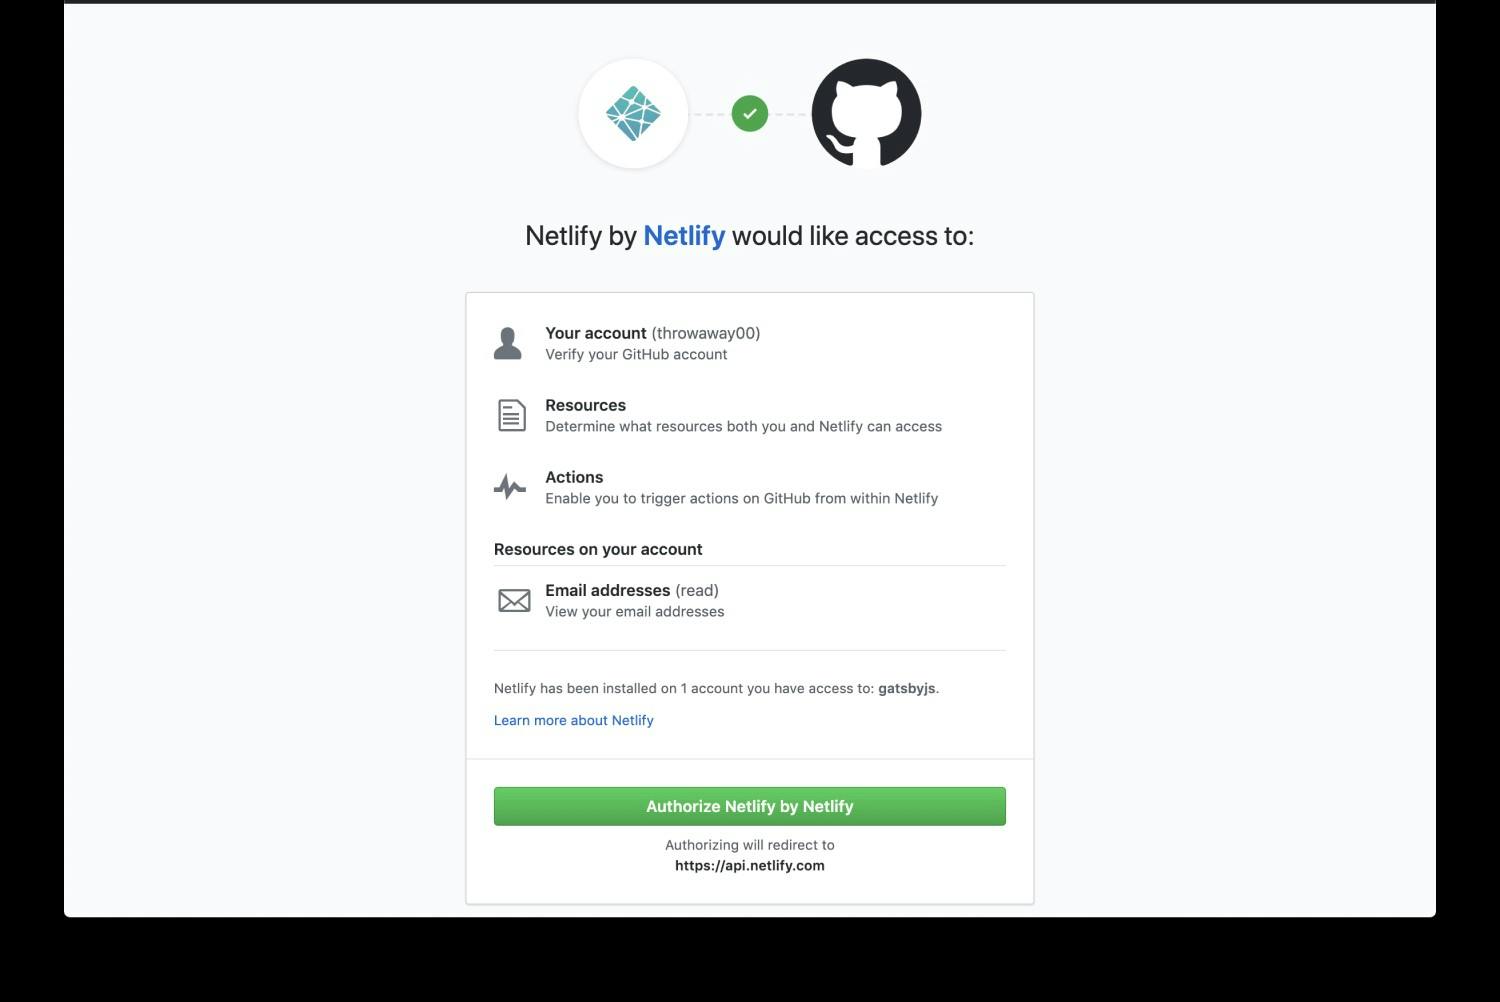 Clicking the Authorize Application button will allow Netlify and GitHub to communicate with each other. Netlify doesn’t store your GitHub access token on their servers. If you’d like to know more about the permissions Netlify requests and why they need them, you can visit their documentation on Git provider permissions.
Step 4: Select Your Repo
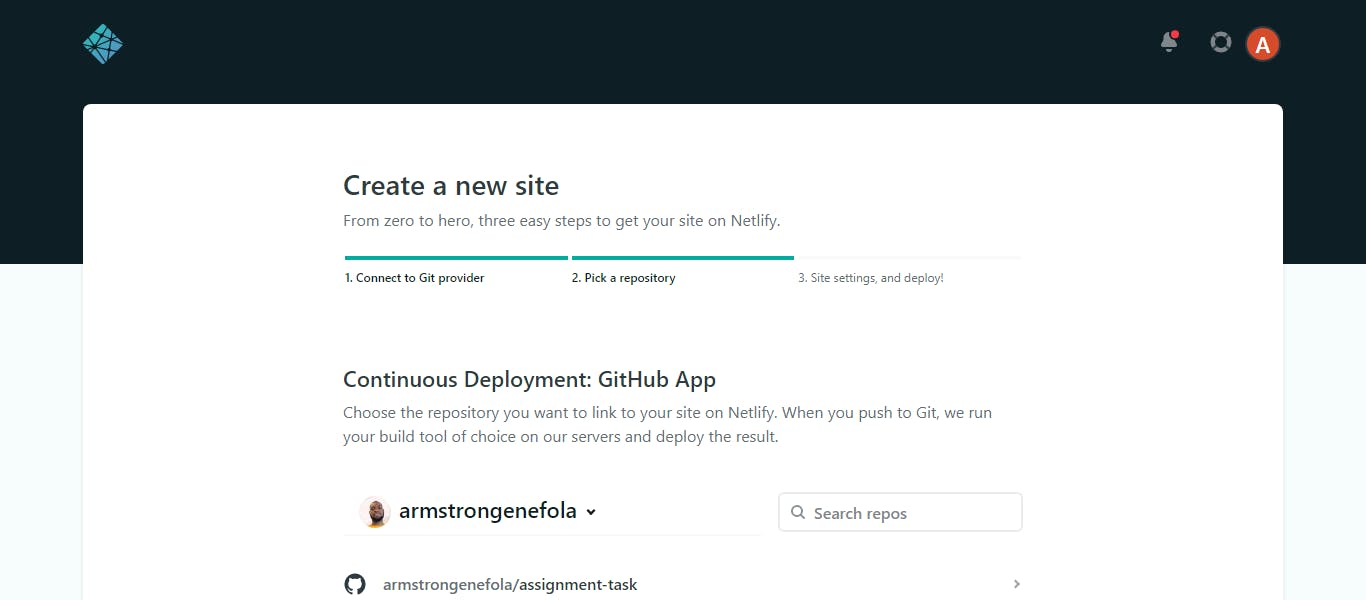 Now that you’ve connected Netlify and GitHub, you can see a list of your Git repos. Choose the repo you’d like to deploy from the list.
Step 5: Configure Your Settings
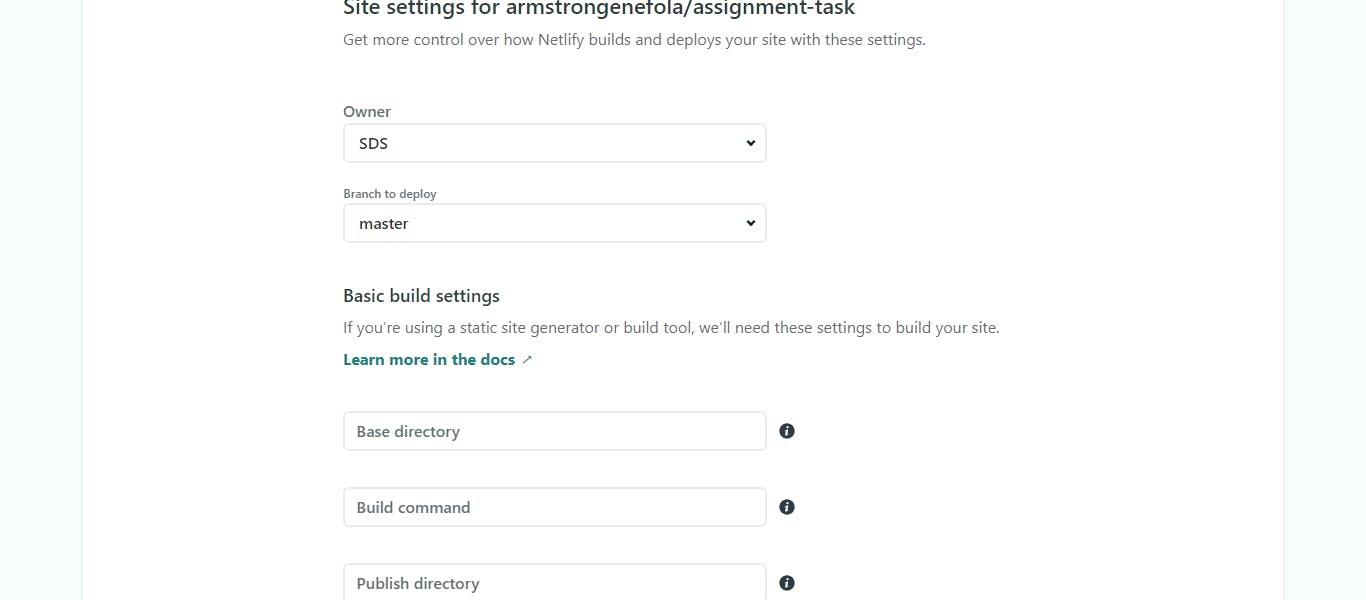 Here you can configure your options. Make sure your publish directory is where your public site files are placed after building the site (e.g. dist) and your build command is whatever you run to build the site (e.g. npm run build). Then click the Deploy site button to continue.
Step 6: Build Your Site
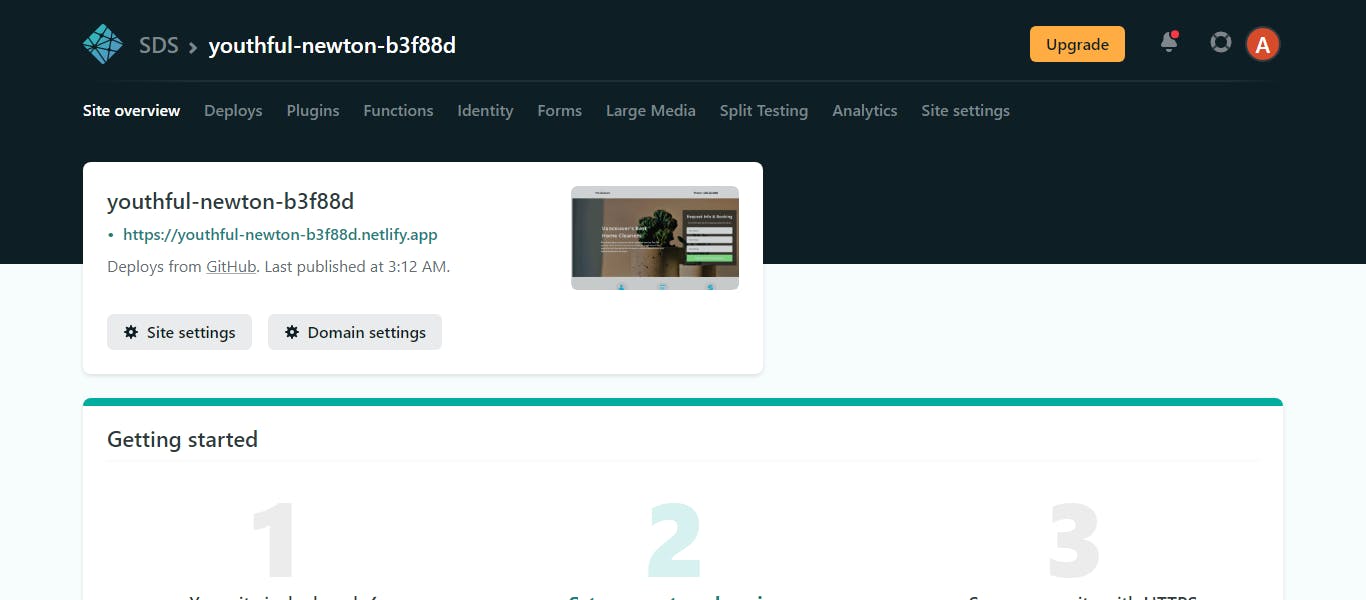 at this point, It takes just a few seconds for it to build and deploy your site.
Step 7: All Done
Once the build completes, your site is live! on the top left corner of your screen (site overview) you can see the URL of your newly published site.
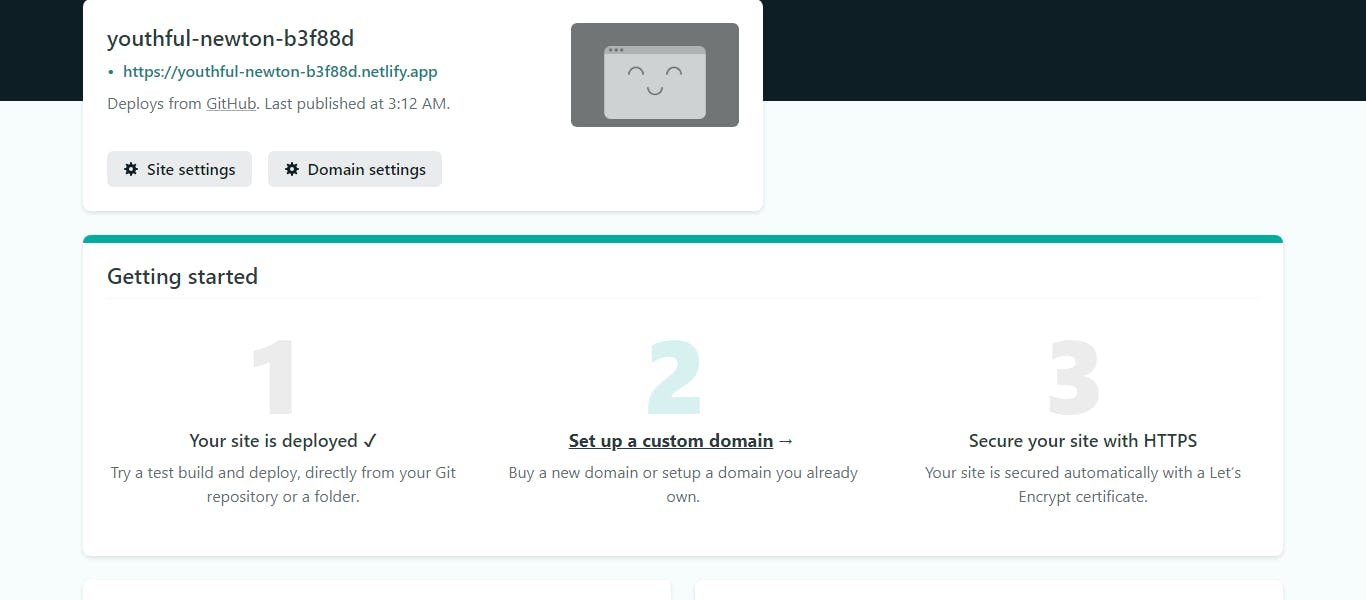
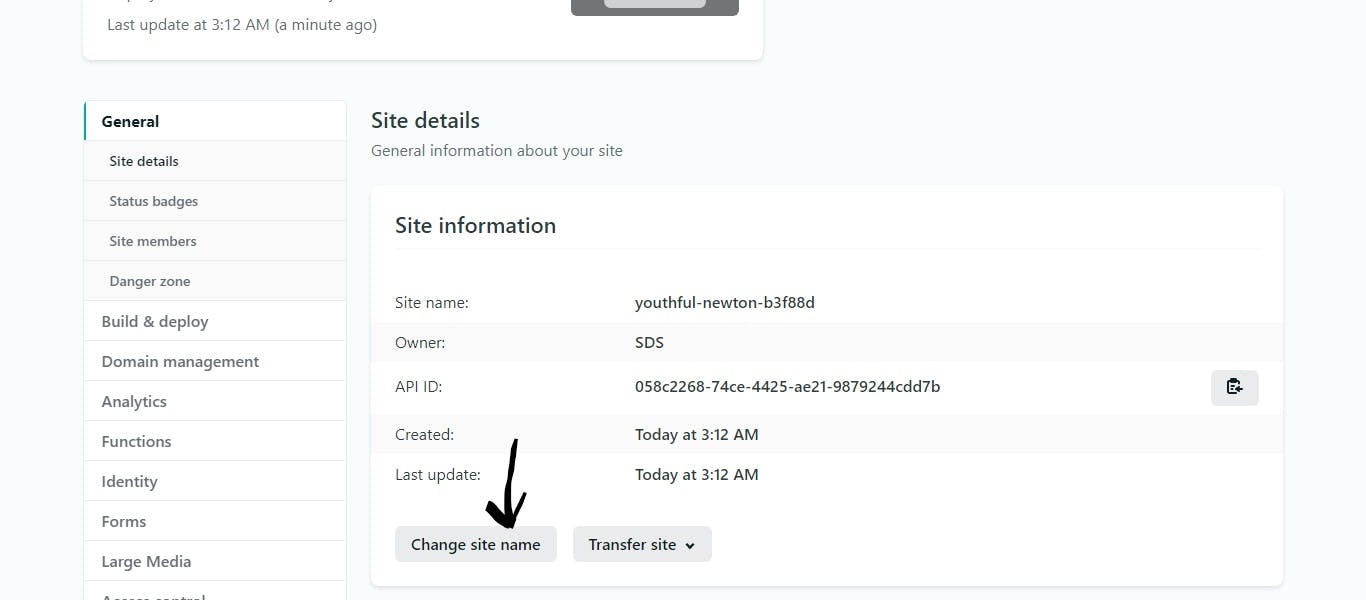
Netlify automatically generated a name for your site. its some weird contraption of letters or words but we can change it by visiting the site settings tab and clicking “Change site name”: and save
well that was easy, wasn't it?
Thank you for reading. follow my blog for more tutorials and tips that will be beneficial to you on your coding journey.
